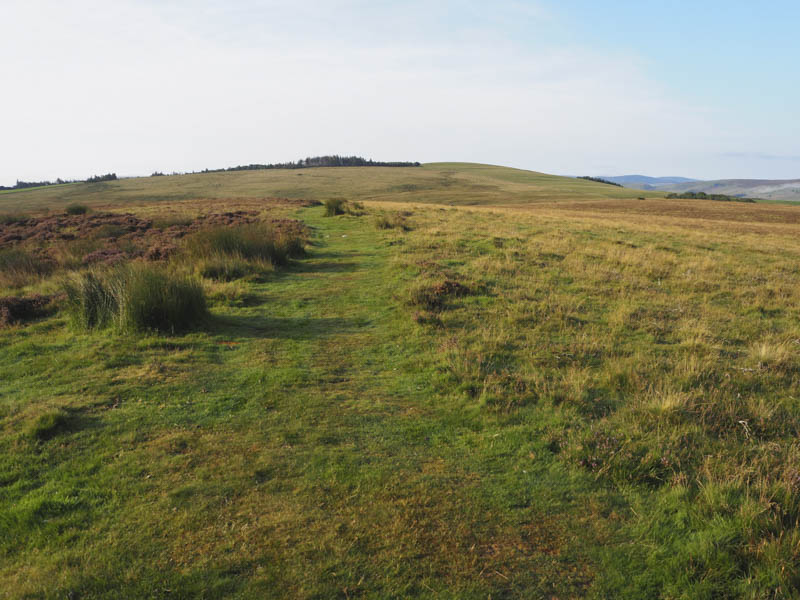
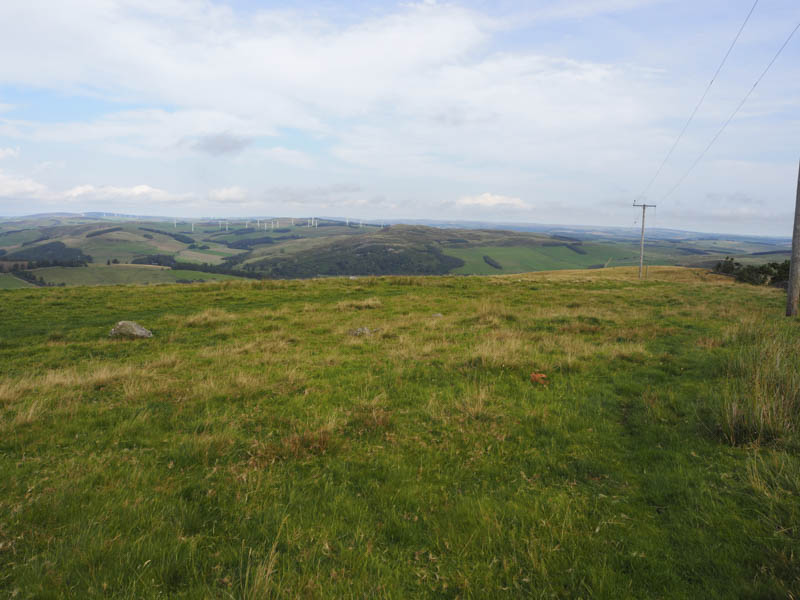
Lauder Common – It was a fine Sunday morning when I arrived at the highpoint on the B6362 Lauder to Stow Road where there was ample off road parking. A few dog walkers were out early taking advantage of the sunny conditions.
On leaving my car I walked north and north-east along grassy paths to the summit of the Tump, Lauder Common, which was just some grass at the side of the track. I then returned to my car by the approach route having only been out for 20 minutes.
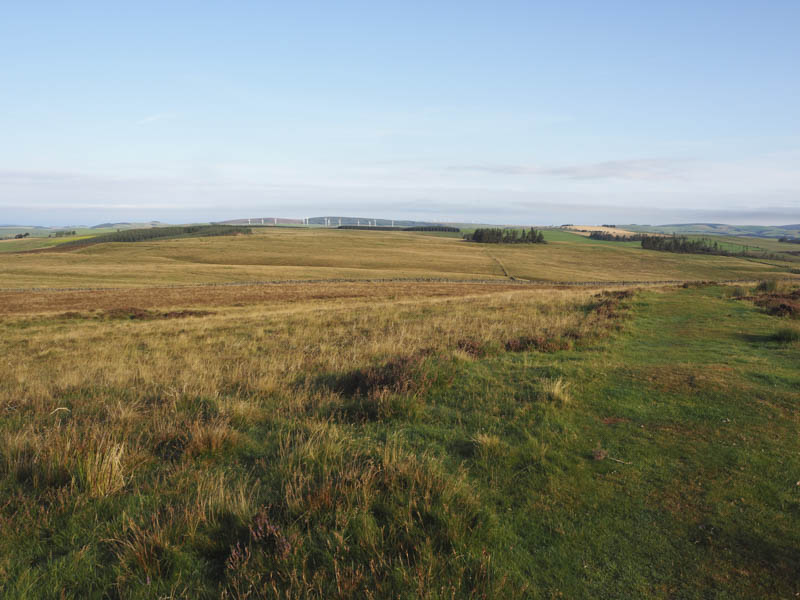
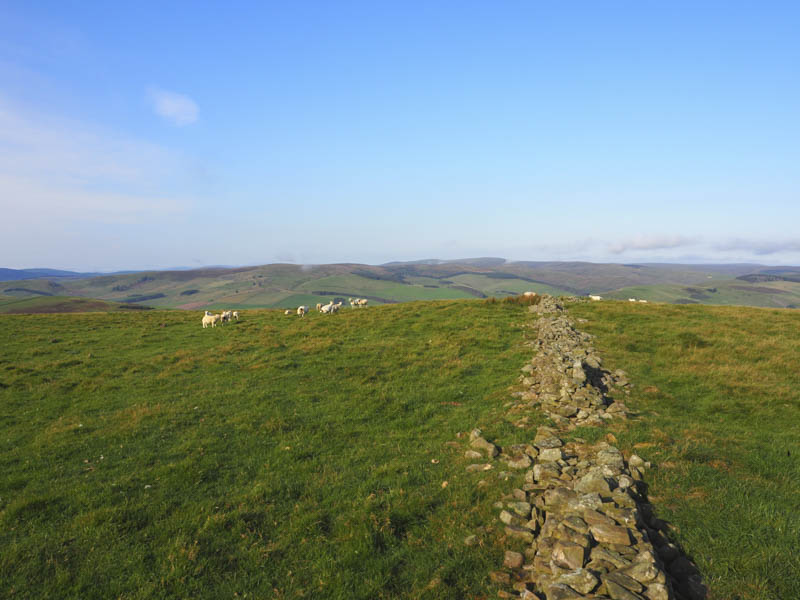
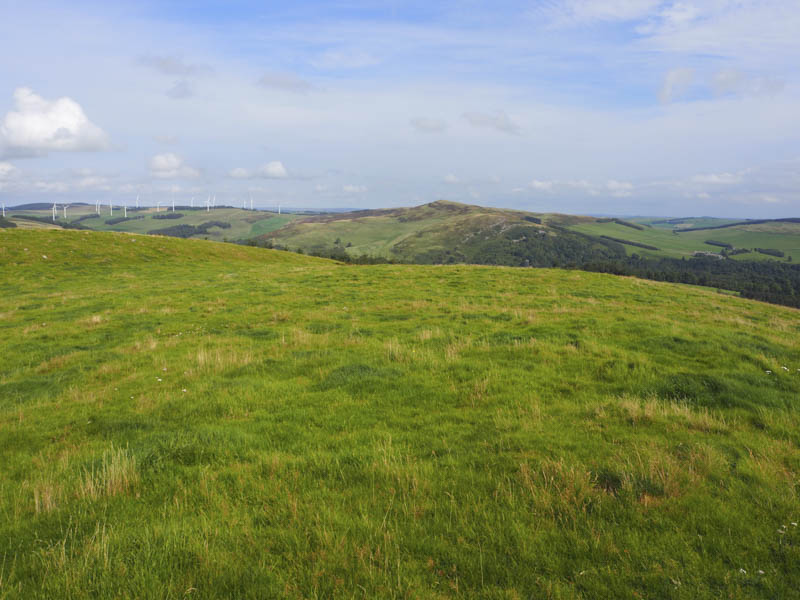
Sell Moor Hill – After Lauder Common I drove a short distance west on the B6362 Lauder to Stow Road parking east of the cattle grid, (NT481456) which was under repair. I crossed the road and walked through some longish vegetation which was wet with overnight dew. On reaching the south-east corner of a wood it was a slightly awkward crossing of a stone dyke due to a single strand electric wire. From there I walked south on a grassy field along the side of the stone dyke and electric wire strand. A sheep and a couple of lambs came from the side of the dyke and under the wire so I then presumed it wasn’t live. Higher up it was a short walk west to the trig point. The summit of the Sub 2K Marilyn, Sell Moor Hill, was ground beside an old stone dyke.
The return was by the ascent route.
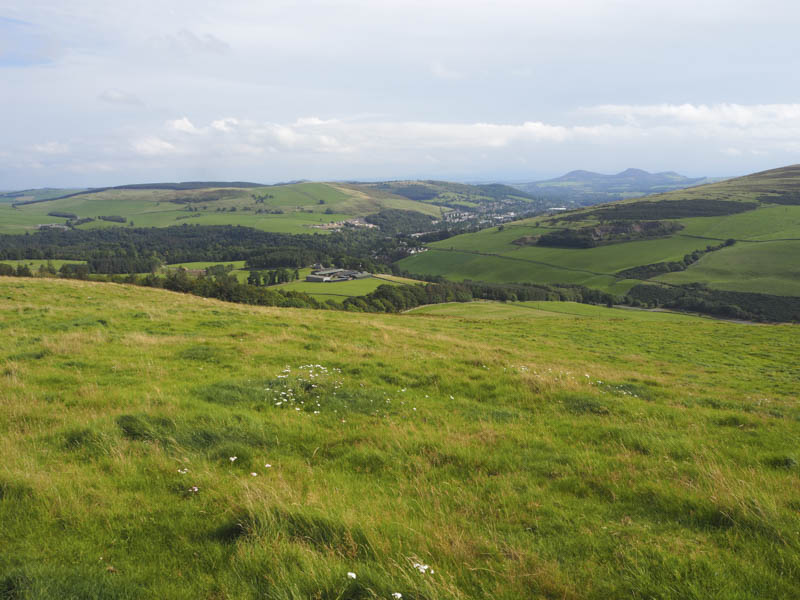
Gala Hill – After climbing Sell Moor Hill I drove to Galashiels then along the minor road to the west of Gala Hill parking at the side of the road north of the houses at Wood End. I entered the wood and followed paths, forest tracks and climbed between well spaced trees, avoiding a few fallen ones, to reach the trig point on Gala Hill. The summit of this Hump was ground next to the trig point.
The return was more direct by keeping to the south of the ascent route and using mountain bike trails.
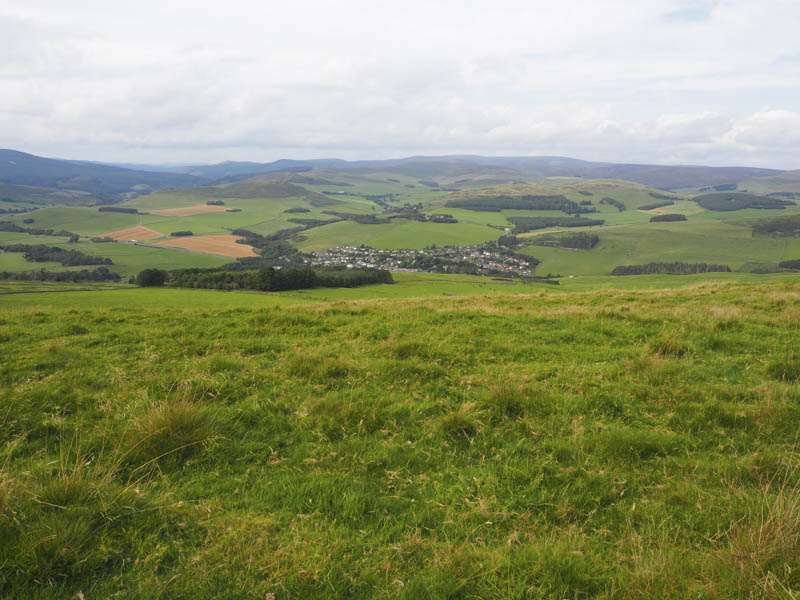
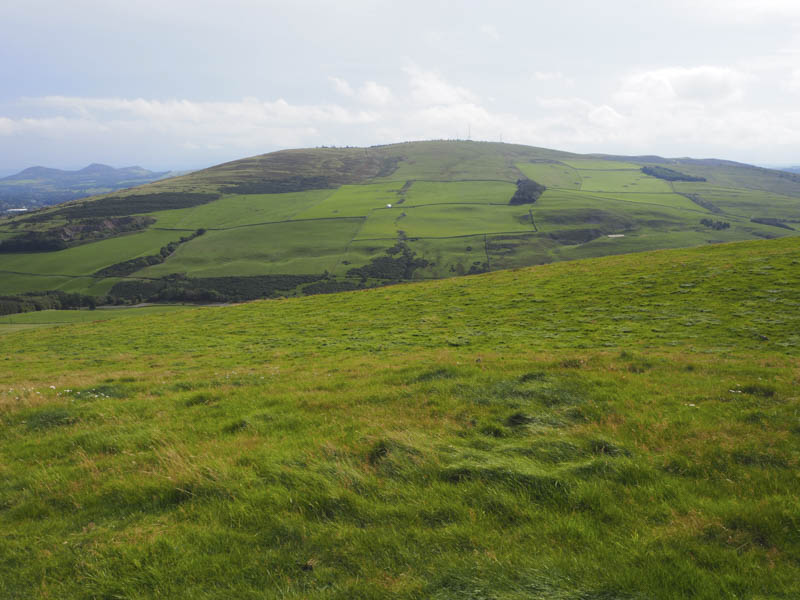
Meigle Hill – From Galashiels I drove west along the A72 to Clovenfords and parked in the new housing scheme at Lairburn Drive. I then walked back along the A72 to the farm at Meigle looking for the track to the radio masts. It passed through the farm buildings but I wasn’t aware of this so went along a tarred road towards a house. I then crossed a couple of fields containing pigs, horses and rams to join the vehicle track north-east of the farm.
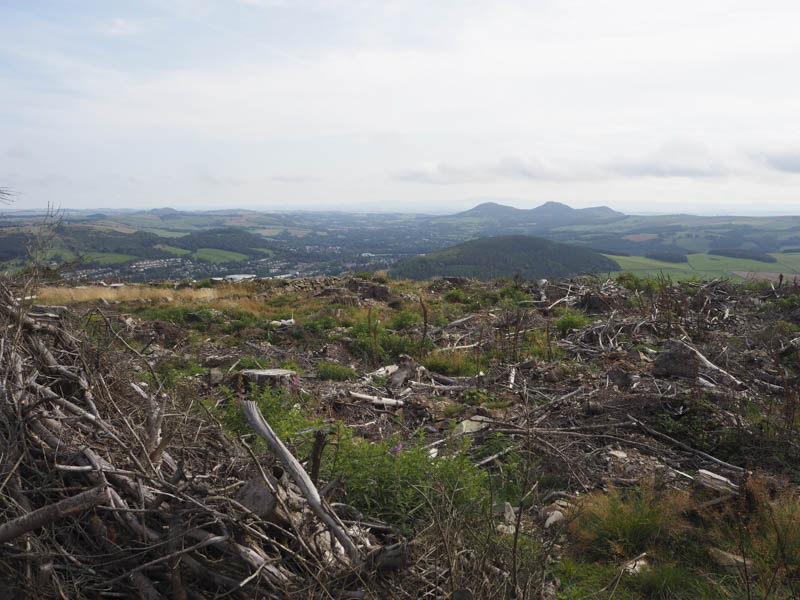
The track was followed east to more farm buildings then south through fields of sheep before high up turning east then north-east passed the communication towers to the trig point. The summit of the Sub 2K Marilyn, Meigle Hill, was ground nearby. On the other side of a stone dyke was a large cairn which I also visited. The trees beyond had been cleared leaving loads of brash.
The return was by the approach route walking through the farm buildings at the end of the walk.
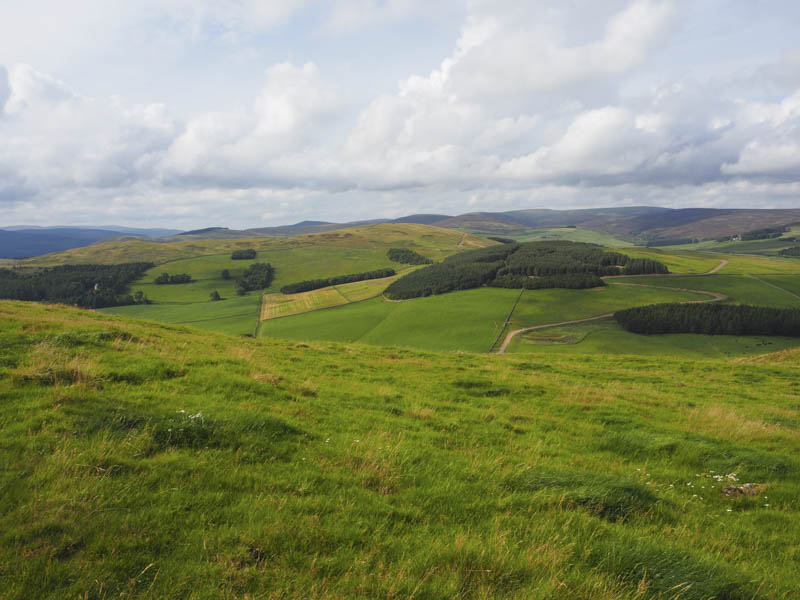
Mains Hill and Knowes Hill – I parked at the side of a vehicle track on the west side of the B710 Clovenfords to Bowlands Road at NT449381.

I then crossed the road and a few metres to the north a stock gate and entered a field of longish grass. I walked east up the side of a stone dyke and electric wire strand which separated me from a field of cows and calves that were running towards me coming to a halt beside a closed stock gate.
I continued up the side of the dyke then it was an awkward crossing of a combination of two wooden fences and three electric wire strands. It was then a short climb through rough pasture and dying bracken to reach the summit of the Hump, Mains Hill, marked by an embedded rock.
It was warm on the summit and here I had lunch before returning to my car by the upward route. The cattle were still beside the stock gate but didn’t really move on this occasion.
Instead of getting into my vehicle I dumped some gear and walked west along a vehicle track, went through a stock gate then up the zigzag track to a wood. This track continued north then south-west to a new deer fence and gate. Just beyond and at a junction of tracks I continued south-west gaining a bit more height before leaving the track and walking through long vegetation with newly planted trees with associated hollows. A dyke and barbed wire fence was crossed to reach the summit of the Hump, Knowes Hill, located between an old stone dyke and the new deer fence.

Descended north through more rough ground and new tree plantings, a bit easier than the approach to the summit, to join the vehicle track which was followed back to the deer fence and the start.
- Total time taken – 5.5 hours.
- Total distance – 14.75 kilometres.
- Total height climbed 735 metres.