The plan was to combine three of the Corbetts and a Graham in the Fisherfield area on a backpacking trip. On the first day, 2 August 2019, I set off from the bridge over the Gruinard River on the A832 Braemore Junction to Poolewe Road along the vehicle track on the west side of the river.

After just under two hours of walking I reached the bridge over the Allt Loch Ghiubhsachain.
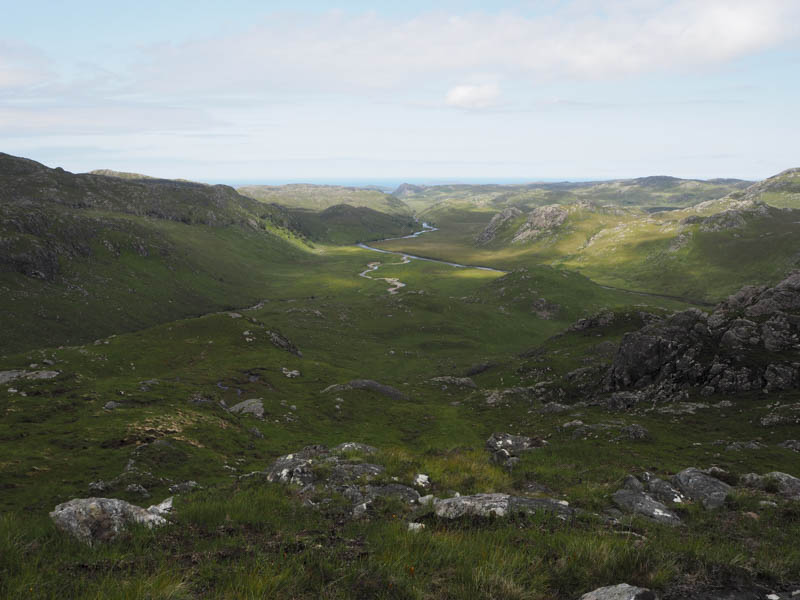
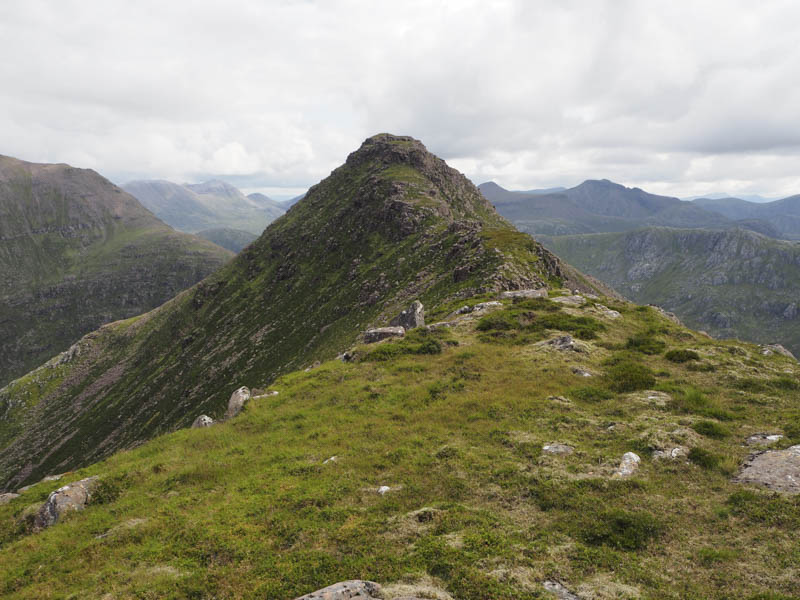
A few metres beyond this point I left the vehicle track and headed towards the north-west ridge of Beinn Dearg Bheag North Top firstly going over the Tumps, Meall a’ Chrotha, Carn Airigh an Easain and Carn Loch Ghiubhsachain which entailed crossing rough ground with several undulations, twists and turns. Eventually I reached the foot of the steep and rocky ridge of the Corbett Top, Beinn Dearg Bheag North Top.
Moving slightly to the east I was able to avoid the rock faces although there were a few easy scrambles. However I started getting some leg pain and this made for slow progress. High up the ridge narrowed and here I developed cramp in my legs.
At this point I considered abandoning the ascent but it was a rather long haul back to the start so I opted to continue at least as far as the summit of Beinn Dearg Mhor if that was possible. After a short rest while the pain eased I completed the ascent of Beinn Dearg Bheag North Top.
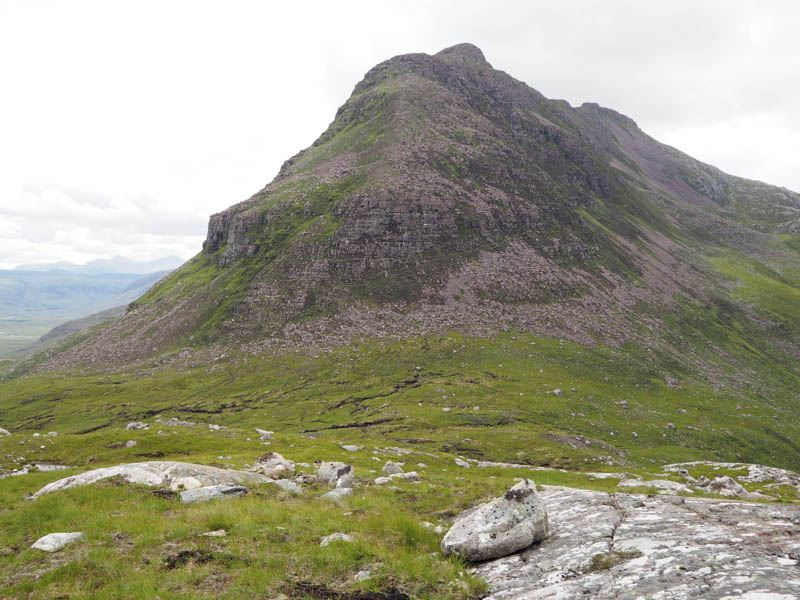
There was then some down climbing before ascending the Corbett, Beinn Dearg Bheag, still in a bit of pain and stopping a couple of times with cramp.

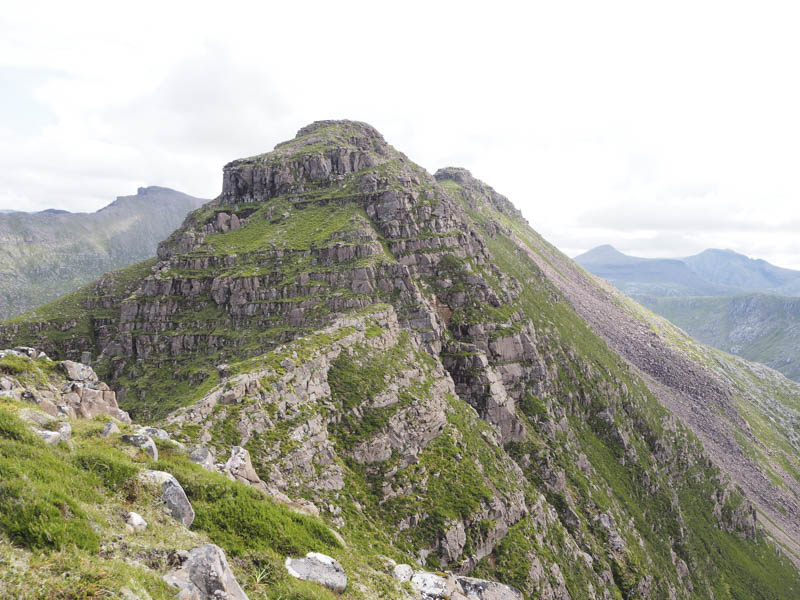
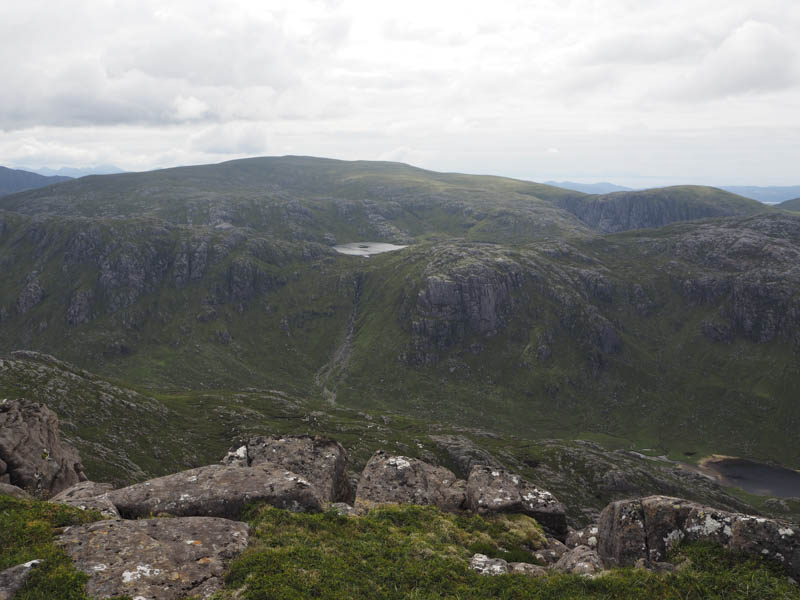
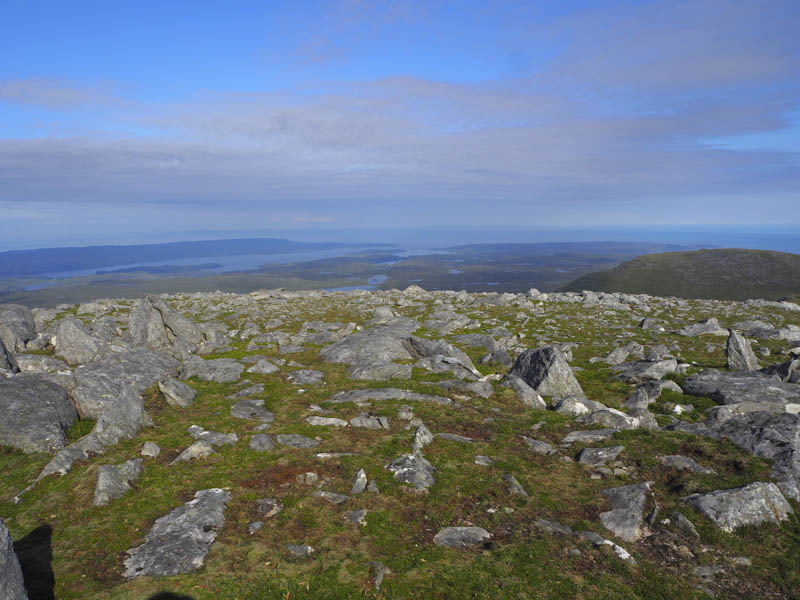
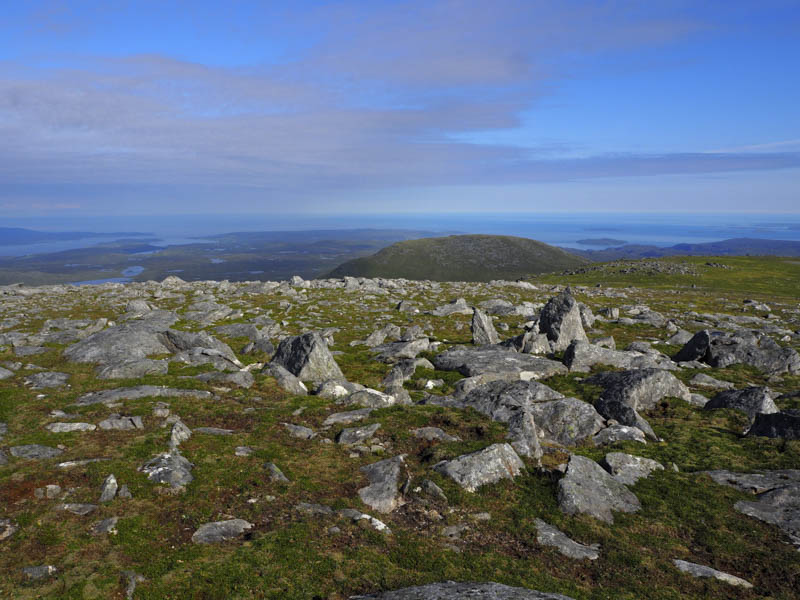
The descent to the col with the Corbett, Beinn Dearg Mhor, was less painful and here I dumped my sack and commenced its ascent. There were traces of a path but I had to stop on a few occasions before the gradient eased. I then headed for the large cairn marking the summit of Beinn Dearg Mhor but had another cramping episode metres from its top.
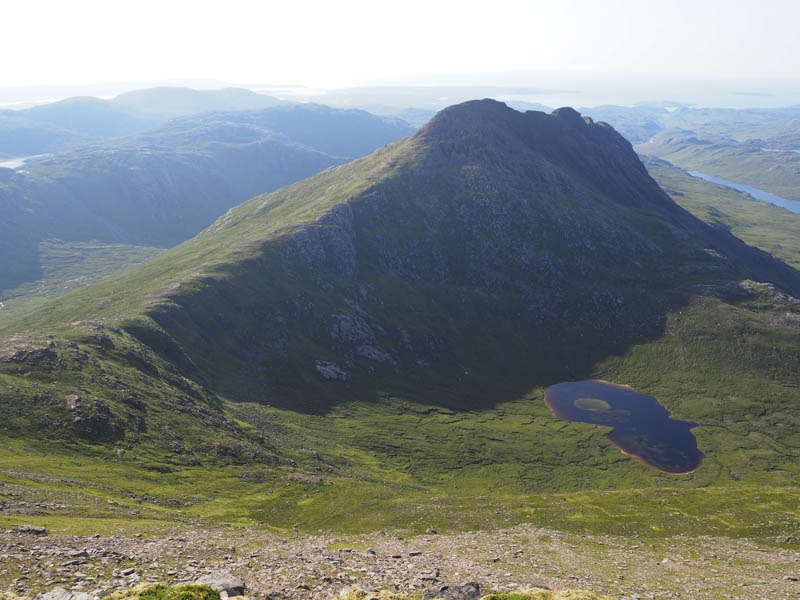
After visiting this cairn I descended steeply south before making the easy ascent of the Corbett Top, Beinn Dearg Mor East Top. I then headed below the summit of Beinn Dearg Mor to rejoin the upward route and return to the col with Beinn Dearg Bheag.
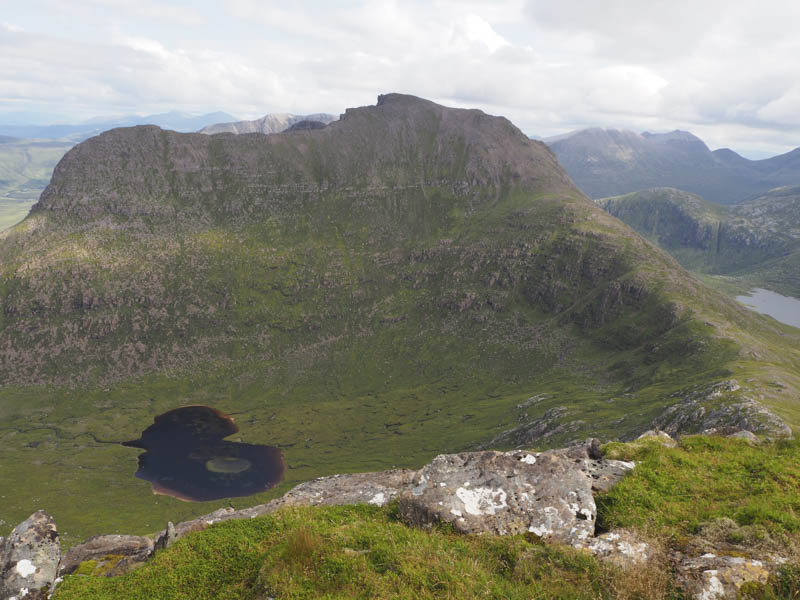
Despite the midges I would have pitched my tent there but had run out of water. I therefore descended south-east below Beinn Dearg Mor, collected some water, and headed for a wee rise just to the south-east of Loch Beinn Dearg. Here I set up camp, initially in a very light breeze, but it soon died down and the midges appeared so it was time to get into the tent and have a bite to eat and a drink.
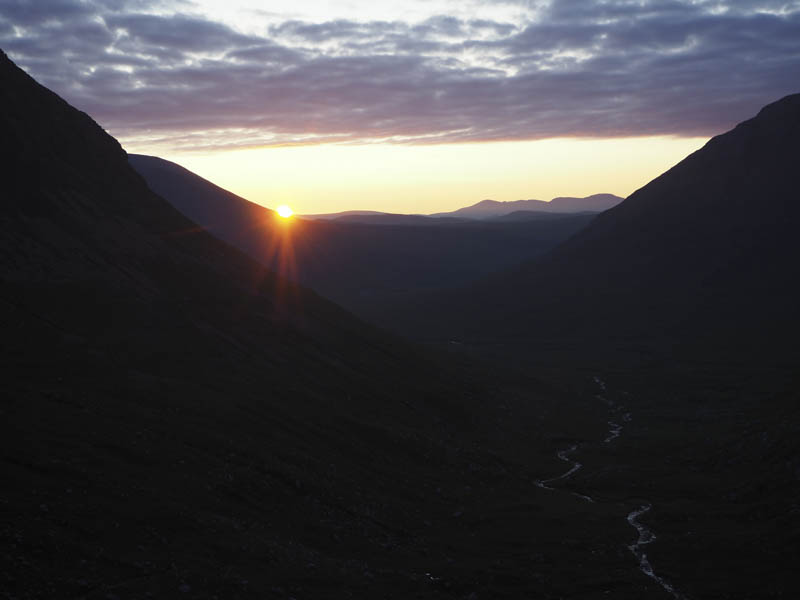
The legs were sore during the night so I didn’t sleep well and when dawn arrived I packed and set off up the path above Gleann na Muice Beag. Around midway up this route the sun rose.
When opposite the easterly lochan of the three at Lochan Feith Mhic-illean I left the path, crossed some rough vegetation and headed for the Graham Top, Cadhachan Riabhach where a number of stags watched my approach.

They later disappeared and I completed the ascent There was a very slight breeze here enough to keep the midges away so it was time to get the stove going and have breakfast.
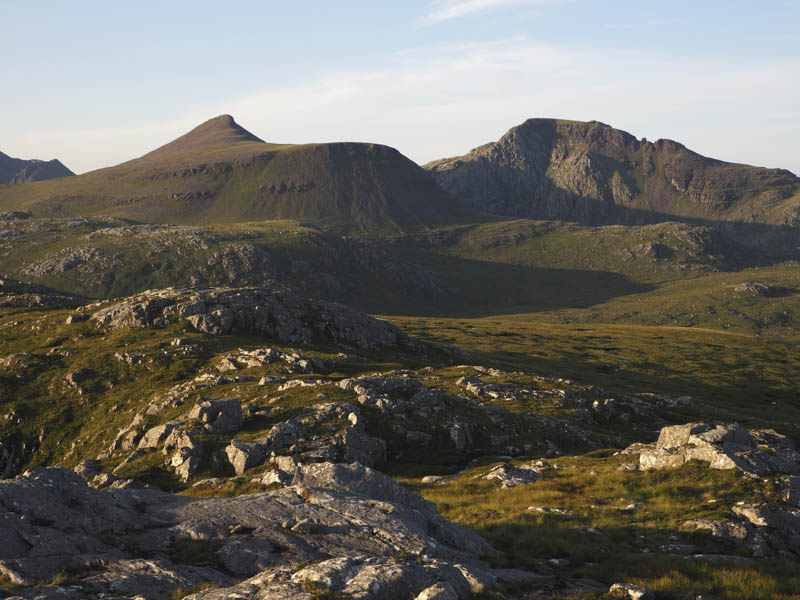
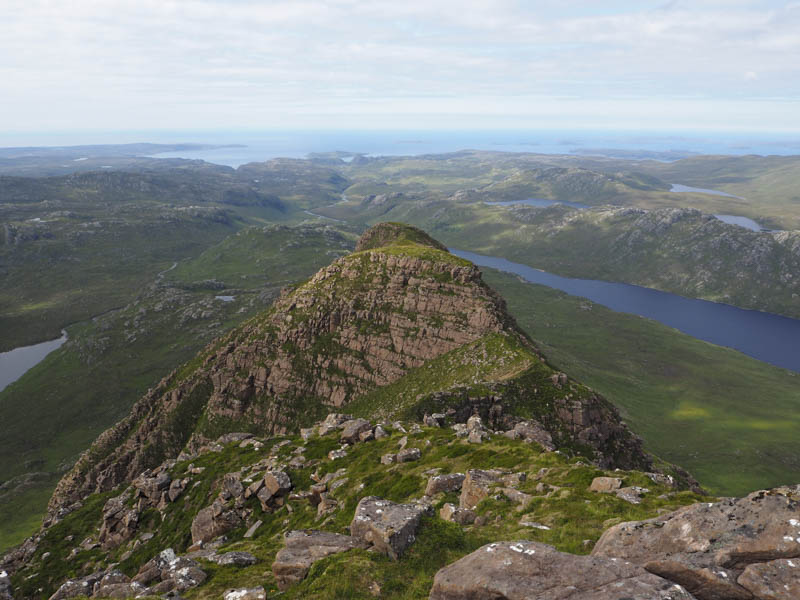
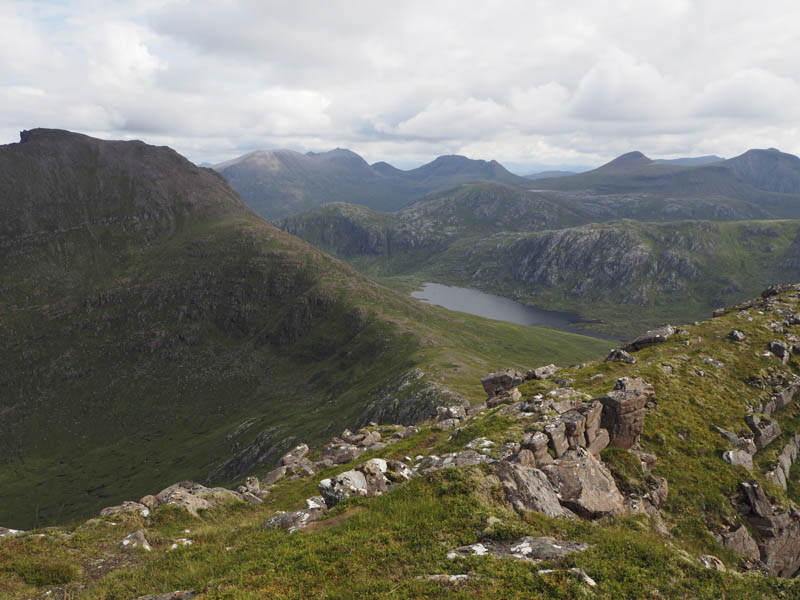
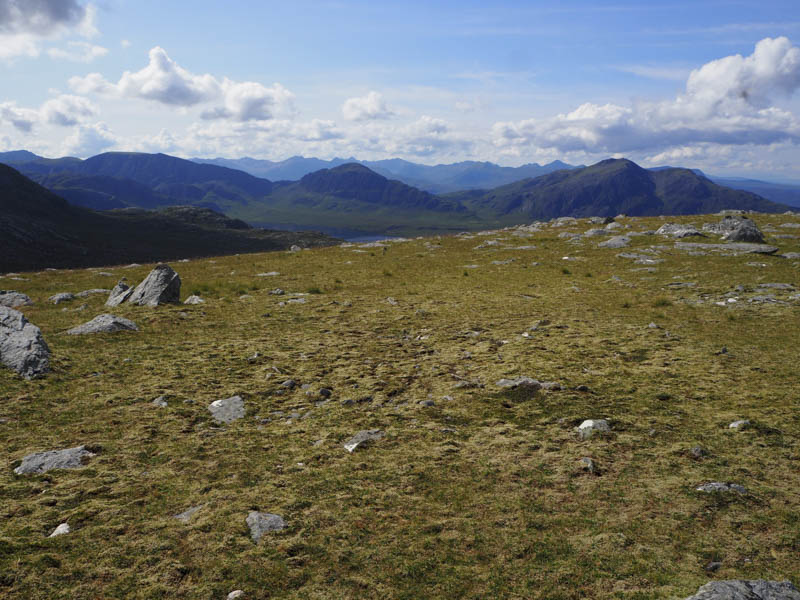
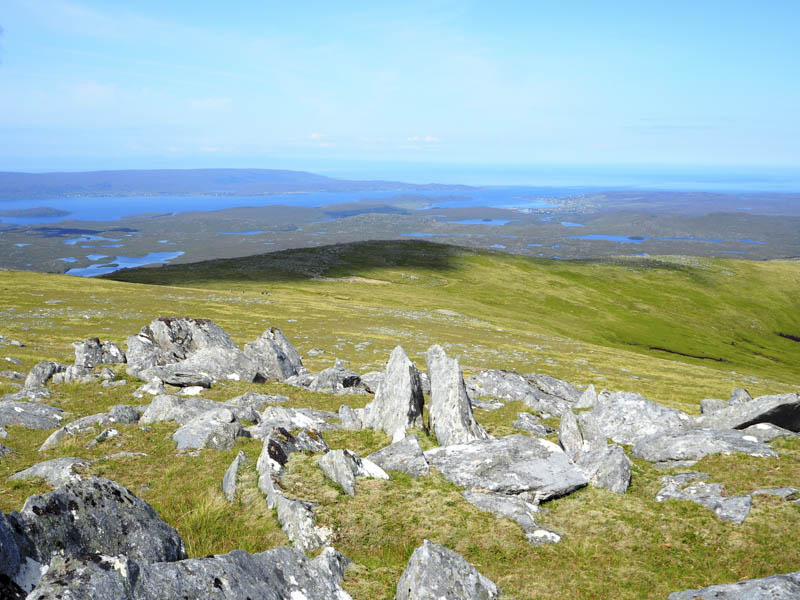
From this hill I crossed over to Cadhachan Riabhach West Top (Uncategorised) before descending to the col with Beinn a’ Chaisgein Mor. It was then a relatively easy climb up the grassy slopes following a wee stream so I was able to take on lots of water. This was obviously a favoured spot for the hinds as there were lots around. The summit rocks and cairn of this Corbett were reached and here I had another breakfast with grand views of the Fisherfield and Letterewe mountains. The Isles of Rona and Skye were a bit hazy as were the Summer Isles.
Thereafter I descended north on an easy gradient, went over the Graham Top, Frith-mheallan, then descended more steeply to the col with Beinn a’ Chaisgein Beag where there were numerous pools of water. I reached the old stalker’s path where I dumped my sack and made the short steady climb onto the summit plateau of Beinn a’ Chaisgein Beag and to the cairn marking the summit of this Graham.
I returned to collect my sack and descended north-east along the stalker’s path which was boggy in places. On reaching the Uisge Toll a’ Mhadaidh I walked down its west bank, very rough at times, then lower down crossed this stream. I walked below the west and north face of Creag-mheal Beag then across more pathless terrain to the vehicle track on the west side of the Gruinard River. I had planned to include several of the small hills in this area but my legs were still sore albeit no cramp so I decided to give them a miss. The final three kilometres back along this vehicle track were pretty slow but eventually I made it back to my car.
Day One:
- Time taken – 11.5 hours.
- Distance – 21.75 kilometres.
- Height climbed – 1585 metres.
Day Two:
- Time taken – 11 hours.
- Distance – 25.5 kilometres.
- Height climbed – 1005 metres.